How to Manage Greenhouse Humidity Without Guesswork
7 min read
A greenhouse can look perfectly watered and still be headed for trouble. Condensation dripping from the roof at breakfast, damp leaves that never dry, or a stale smell by late afternoon are all signals to act. Knowing how to manage greenhouse humidity means catching those signals early, before they become powdery mildew, botrytis, leaf spot, or weak, stretched growth.
The goal is not bone-dry air. Seedlings, leafy greens, and many warm-season crops appreciate moderate humidity, especially while establishing. The practical goal is steadiness: enough moisture in the air to prevent stress, but enough airflow and dry time on foliage to keep disease from getting started.
Start with the humidity range your crops can live with
Most backyard greenhouses do well when relative humidity stays roughly between 50% and 70% during the day. Below 40%, plants can transpire quickly, wilt despite moist soil, and struggle with pollination. Above 80% for long stretches, fungal disease pressure rises and condensation becomes much more likely.
Those numbers are a guide, not a reason to chase a perfect reading every hour. Temperature changes the picture. Air that feels dry at 85°F can become saturated when the greenhouse cools overnight, leaving droplets on leaves and glazing the inside of the plastic or glass by morning. That overnight swing is where many small greenhouses get into trouble.
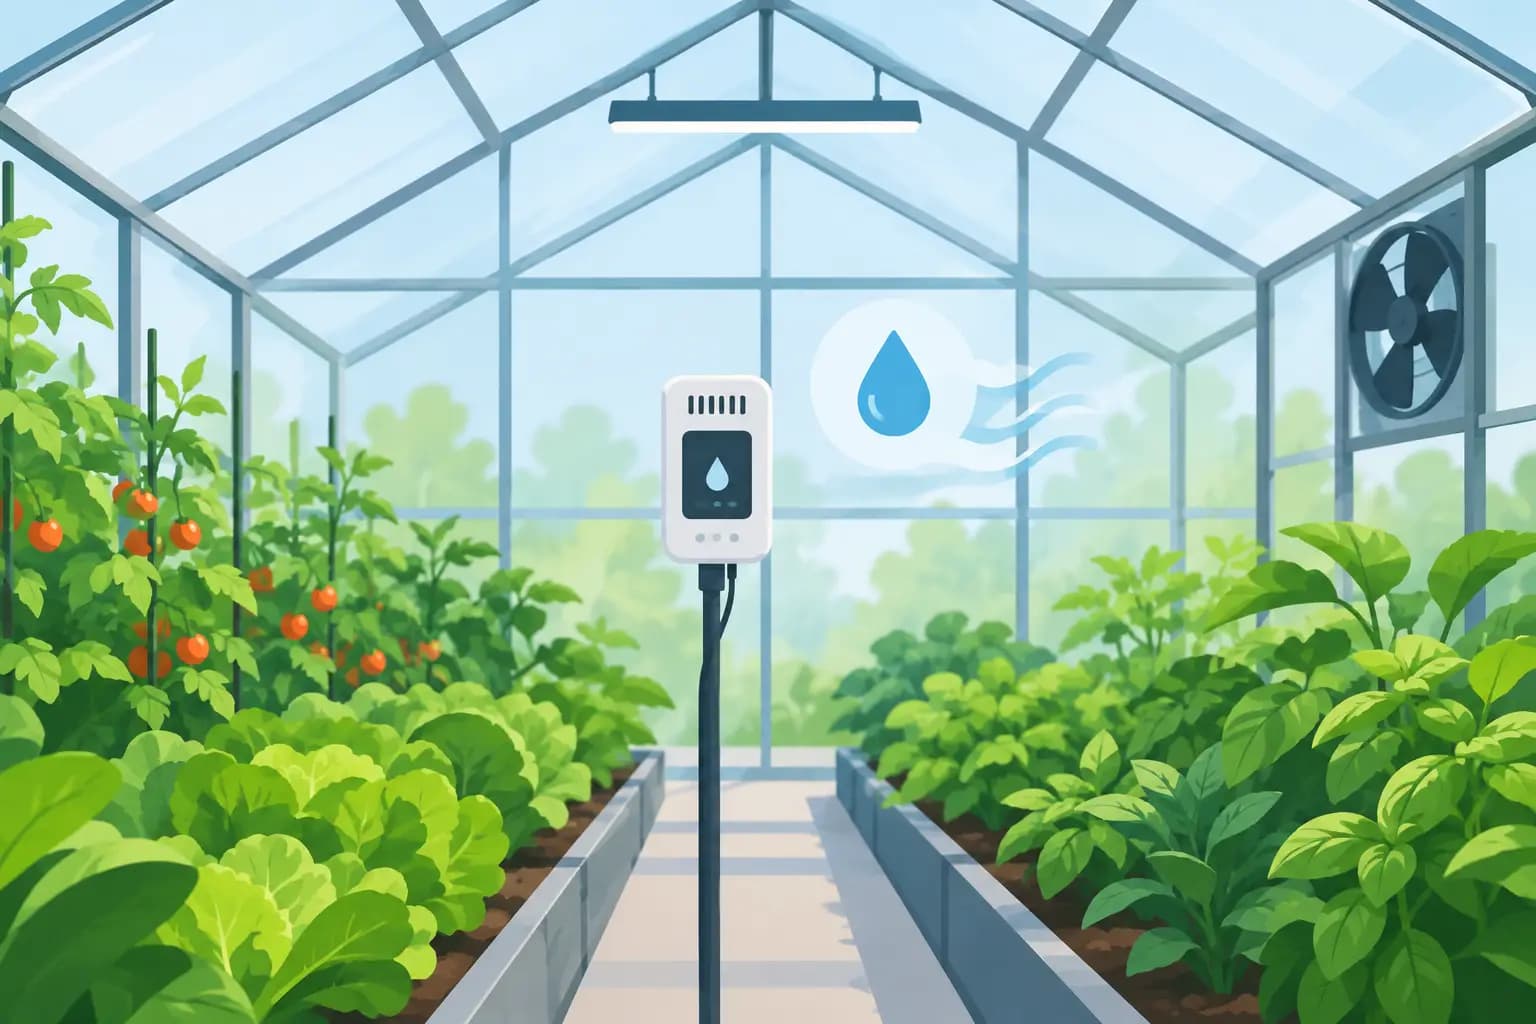
A basic digital thermometer-hygrometer gives you a useful starting point. Place it at plant height, away from direct sun, door drafts, and the path of a heater. Check it when you open the greenhouse in the morning and again in late afternoon for several days. You are looking for a pattern, not one alarming number.
If humidity is highest every morning, focus on overnight ventilation, watering timing, and spacing. If it spikes after watering on sunny afternoons, look at how much water is being applied and whether the greenhouse can exchange hot, wet air fast enough.
How to manage greenhouse humidity with four daily decisions
For a home greenhouse, humidity control is usually less about installing complicated equipment and more about making a few timely choices. The decisions are simple: when to vent, when to water, where to place plants, and when to remove wet material.
Vent before the greenhouse feels stuffy
Open the door, roof vent, side vent, or roll-up sides early enough to release humid air before it condenses. On a mild morning, that may mean opening vents soon after sunrise. On a cold day, a small opening can still help, provided tender plants are protected from a harsh draft.
The best ventilation creates an exchange, not just an opening. If possible, use a low intake such as a door or lower vent and a high outlet such as a roof vent. Warm, moist air naturally rises and escapes while drier air enters below. A small circulating fan helps move air through crowded corners, but it does not replace fresh-air exchange.
There is a trade-off in cold weather. Venting lowers humidity but also sheds heat. Rather than leaving everything wide open, crack a high vent or door for a short period after sunrise, then reassess. Fifteen minutes of fresh air can be more useful than hours of stagnant warmth.
Water the soil, not the greenhouse
Watering is often the largest humidity event of the day. Water deeply at the base of plants in the morning so leaves, paths, and soil surfaces have time to dry. Avoid spraying foliage unless you are deliberately washing off pests and can provide good air movement afterward.
A soaked floor, open water buckets, wet benches, and standing saucers all add moisture to the air. In a small DIY greenhouse, even one overwatered tray can noticeably raise humidity. Empty standing water and repair drips from hoses or irrigation fittings.
Do not respond to high humidity by underwatering plants. That creates a different problem and can contribute to blossom-end rot in tomatoes and peppers when soil moisture swings sharply. Instead, reduce unnecessary evaporation: target water at the root zone, use drip irrigation if it fits your setup, and water only when the root zone needs it.
Give leaves room to dry
Crowded plants create their own humid pocket. Tomato foliage pressed against a cucumber vine, seedling trays packed edge to edge, or herbs tucked beneath taller plants all dry slowly. Space containers so air can move between them, and keep leaves from resting against greenhouse walls where condensation collects.
Pruning can help, particularly with indeterminate tomatoes and dense cucumber growth, but do it with restraint. Remove yellowing, damaged, or soil-touching leaves first. Then thin only enough to improve airflow and light. Cutting away too much healthy foliage at once can stress the plant and expose fruit to sunscald.
For seedlings, avoid keeping humidity domes on after most seeds have germinated. Domes are helpful for starting seeds because they hold moisture near the growing medium. Once sprouts emerge, that same trapped moisture can encourage damping-off disease. Vent the dome, then remove it as seedlings establish.
Remove the source of disease pressure
Dead leaves, dropped fruit, algae on trays, and potting mix scattered on the floor hold moisture and harbor spores. A quick cleanup is one of the highest-return greenhouse chores. It does not need to become a weekend project.
During your regular check, remove yellow leaves, pick up fallen debris, and wipe standing water from benches. If you see fuzzy gray growth, soft stems, or leaves with expanding spots, isolate the plant if practical and remove affected tissue with clean pruners. Do not compost visibly diseased material in a cold backyard pile.
Watch the weather, not just the greenhouse gauge
Outdoor weather determines how well natural ventilation will work. A dry, breezy day gives you an easy opportunity to flush humid air. A cool, rainy stretch can keep the greenhouse damp even with vents open, especially if plants are crowded or the structure has limited roof ventilation.
Nighttime is the critical window. As outside temperatures fall, warm greenhouse air reaches its dew point and releases water on the coolest surfaces. If a clear, chilly night follows a warm day, close up early enough to protect tender crops, but do not seal the structure unnecessarily tight. If conditions allow, leave a small high vent open or use gentle fan circulation to reduce stagnant, saturated air.
A forecast matters here because the right move changes by the hour. Before a wet three-day spell, water only what needs it, clear debris, create space around dense plants, and confirm vents operate freely. Before a cold night, water earlier in the day rather than late afternoon and avoid leaving wet foliage behind when you close the greenhouse.
This is also why a weekly care plan is more useful than a generic instruction to “provide good ventilation.” A simple prompt such as “open the roof vent by 9 a.m. Thursday, then close it before a 38°F night” turns good advice into a task that actually gets done.
Use equipment only where it solves a real problem
Many gardeners can manage a small greenhouse with vents, a door, a thermometer-hygrometer, and one circulation fan. Start there. Automatic vent openers are a worthwhile upgrade if you are away during the hottest part of the day, since they respond to rising temperature without needing a power source.
An exhaust fan and intake shutter can be valuable in larger greenhouses or hot, humid climates where passive venting is not enough. Run the fan to exchange air, not just to blast plants continuously. Constant strong airflow can dry pots quickly and stress tender seedlings.
A dehumidifier is rarely the first answer for a typical unheated backyard greenhouse. It uses electricity, produces heat, and can be impractical in a structure that is regularly vented. It makes more sense in a tightly enclosed growing room or a winter greenhouse where outside air is too cold to exchange freely. For most setups, better drainage, spacing, watering timing, and ventilation solve the underlying issue.
When humidity is too low
Low humidity is less common in spring and fall greenhouses, but it can happen in hot, dry regions or in heated winter structures. Leaves may curl at the edges, seedlings may wilt quickly, and potting mix can dry faster than expected.
First, check soil moisture and temperature. A plant may be struggling from heat rather than dry air alone. Shade cloth, better ventilation during hot afternoons, and consistent root-zone watering usually help more than misting. Misting briefly raises humidity, but it also wets foliage and can create disease trouble if air movement is poor.
For young seedlings, grouping trays together and using a shallow water tray nearby can modestly raise local humidity without soaking leaves. Keep the tray separate from pots so roots do not sit in water.
A calm five-minute greenhouse check
Most humidity problems become manageable when you catch them while they are small. On your next visit, look up for condensation, look between plants for trapped air, and look down for wet floors or standing water. Then check the reading at plant height and make one correction.
Open a vent. Move two crowded pots apart. Water the dry bed at the roots and skip the one that is still damp. Remove the leaf that is touching the soil. Those are small actions, but they protect the dry, moving air that keeps a greenhouse productive. Your plants do not need constant intervention. They need the right attention before moisture becomes a problem.