DIY Greenhouse Plans That Fit Your Garden
7 min read
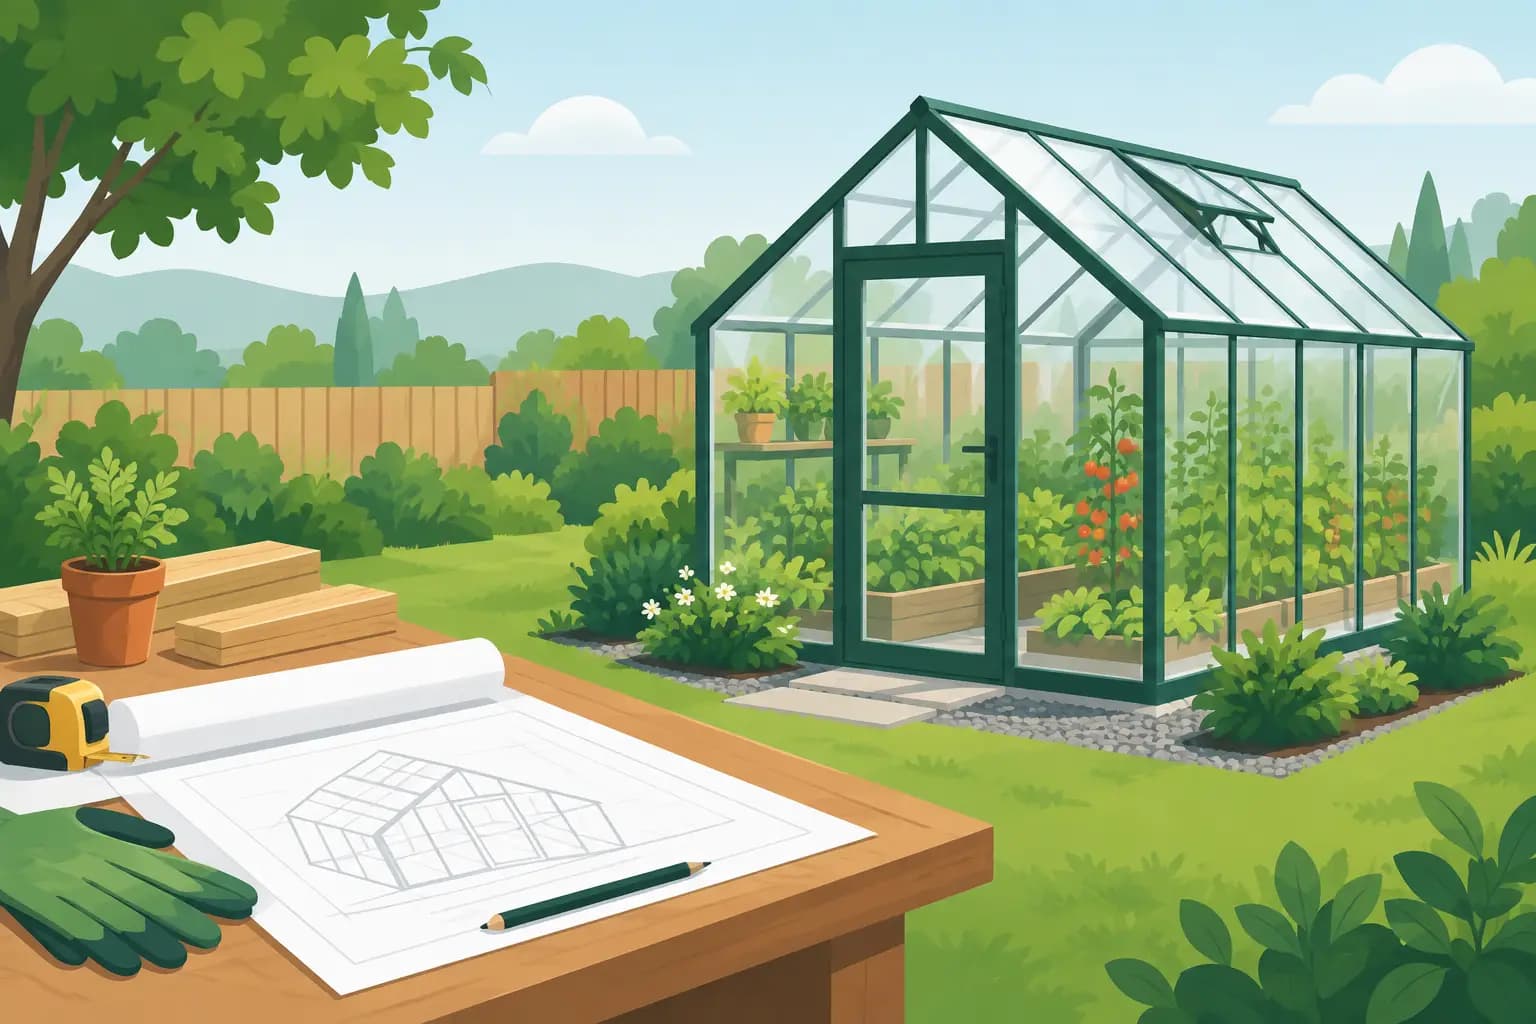
A greenhouse that is too small becomes a storage problem by June. One that is too large, poorly ventilated, or placed in winter shade can become an expensive place to grow mildew. Good DIY greenhouse plans begin with the job the structure needs to do in your yard - not with a photo of someone else’s build.
For most home gardeners, the right greenhouse does not need to be elaborate. It needs to protect seedlings during cold swings, extend the tomato and pepper season, shelter herbs, or give you a reliable place to start food before the beds are ready. Decide which of those jobs matters most, and the design gets much easier.
Start DIY Greenhouse Plans With One Clear Purpose
A greenhouse can be a propagation space, a season extender, or a year-round growing area. Trying to make a small, low-cost structure do all three usually leads to disappointment. The plants may survive, but the space will be harder to manage than it needs to be.
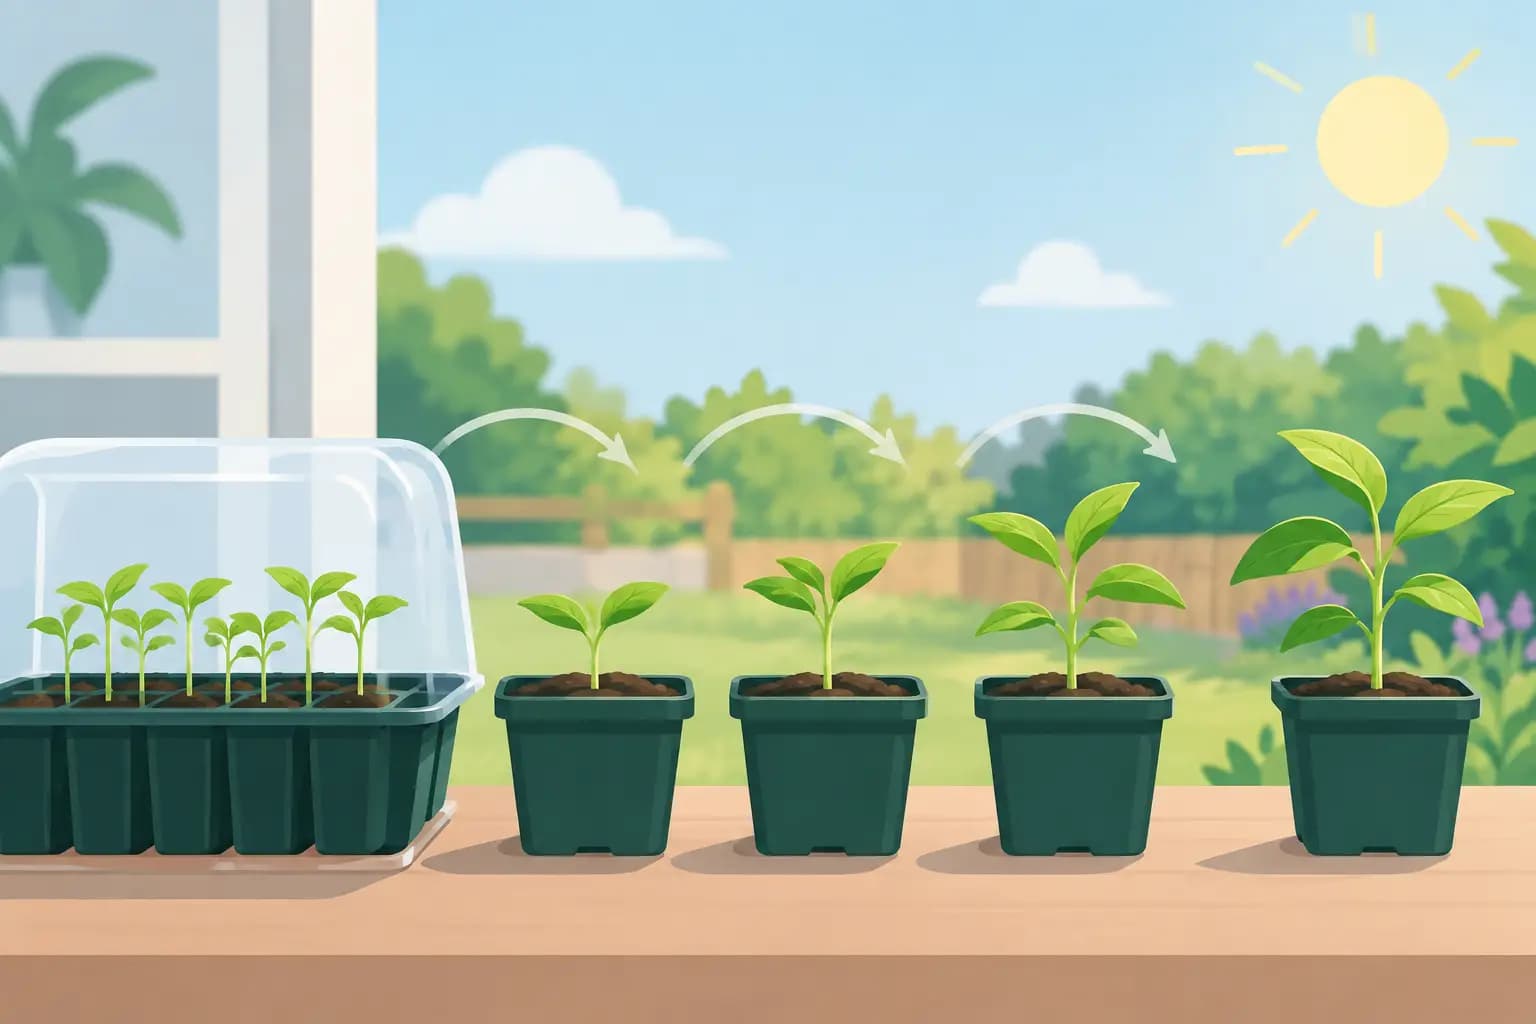
If your main goal is starting transplants, prioritize bench space, easy access to outlets, and the ability to add a small heater during a late cold snap. You do not need a tall structure or deep planting beds. A compact lean-to, cold frame, or hoop house can work well.
If you want tomatoes, peppers, cucumbers, and basil to keep producing later into fall, height and ventilation matter more. These crops create a dense canopy and hold humidity. A structure tall enough to stand in makes pruning, harvesting, and checking leaves far less frustrating.
For winter greens, the question is not simply whether a greenhouse can stay above freezing. Ask whether it gets enough sun from November through February and whether you are willing to manage row covers, water carefully, and respond to hard freezes. In many US climates, an unheated greenhouse extends the season beautifully but does not create summer conditions in January.
Write down the one result you want first. “Start 60 tomato and pepper seedlings by April” is useful. “Grow more food” is too broad to guide a build.
Choose a Design That Matches Your Weather
Your local weather should shape the frame, covering, orientation, and daily workload. Snow load, wind exposure, summer heat, and frost dates are not small details to sort out later.
A simple hoop house is often the fastest low-cost choice. PVC or metal hoops covered with greenhouse plastic can protect crops and seedlings well, especially in mild or moderate climates. The trade-off is durability. Light frames can flex in wind, plastic can tear, and snow can sag a roof if it is not properly supported.
A wood-framed greenhouse offers more rigidity and makes it easier to install doors, vents, shelves, and polycarbonate panels. It also asks more of you at the start: square foundations, cut lists, weather-resistant lumber, and enough time to build carefully. In snowy areas, a steep roof and solid bracing are worth the extra planning.
A lean-to greenhouse attached to a garage, shed, or south-facing wall can save materials and benefit from reflected warmth. It only works if the attached wall receives real sun and the structure does not direct moisture against your home. Check drainage before committing to this style.
In hot, sunny regions, the risk is often overheating rather than cold. A greenhouse can exceed outdoor temperatures dramatically on a clear afternoon. Plan for roof vents, operable side panels, shade cloth, and enough space around the structure for air movement. If you cannot ventilate it quickly, keep the design smaller or use it mainly in cooler months.
Size the Greenhouse Around How You Actually Garden
A 6-by-8-foot greenhouse sounds generous until you add two benches, potting supplies, trays, a watering can, and a path wide enough to turn around. Before buying material, mark the footprint on the ground with stakes, a hose, or twine. Stand inside the outline with a tote or folding chair to test the working space.
For a first greenhouse, a modest walk-in footprint is often the calmest choice. It is large enough for seedling shelves and several containers but small enough to ventilate, clean, and repair without turning it into another weekend obligation. Go larger only when you know where the added plants, water, and harvest will go.
Do not forget the area outside the door. You need a dry place to set pots, carry trays, and open the door without stepping into mud. A simple gravel pad or pavers can prevent a surprising amount of mess.
Height deserves equal attention. Tall crops need clearance, but even a seed-starting greenhouse benefits from enough headroom for a hanging fan, lights, and comfortable movement. If you have to crouch every time you check seedlings, you will check them less often.
Put It Where Morning Sun Reaches It
The best site is usually level, well-drained, close enough to water, and open to morning sun. Morning light dries condensation from leaves and warms the structure early, which helps limit the damp conditions that encourage disease.
Watch the site for a full day before building if you can. Winter shadows from your house, fences, and deciduous trees are longer than many gardeners expect. A spot that receives six hours of sun in July may receive only a few useful hours in March, when you most need it for seedlings.
Face the broad side of a small greenhouse toward the strongest winter sun when possible. Exact orientation depends on the site, so do not force a perfect compass direction if it puts the door into prevailing wind or creates a drainage problem. Site access and weather protection often matter more than a few degrees of orientation.
Keep the greenhouse close enough that you will notice it. A structure at the far edge of the yard may look tidy, but it is easier to miss a dry seed tray, an open vent before a cold night, or the first aphids on young peppers. The best location supports a five-minute check after work.
Build the Foundation and Covering for the Long Haul
Most failed backyard greenhouses do not fail because of the crops. They fail because the base shifts, water pools, or the covering was attached without accounting for wind.
A treated wood perimeter anchored to the ground is a practical foundation for many small builds. Gravel beneath it improves drainage and creates a clean floor. In areas with serious wind, use ground anchors, concrete footings, or another method suited to your local conditions. A lightweight frame needs a deliberate connection to the ground.
For covering, greenhouse-grade polyethylene is economical and effective, particularly for hoop houses. Choose material designed for UV exposure rather than ordinary construction plastic, which can become brittle quickly. Double layers can improve insulation, but only if installed correctly and kept taut.
Twin-wall polycarbonate costs more upfront but lasts longer, holds heat better than a single plastic layer, and handles impacts well. It is a sensible choice for a permanent structure where you want less seasonal replacement work. Glass looks classic and admits excellent light, but it is heavier, more expensive, and less forgiving during a DIY build.
Use the material list in your plan as a starting point, then add a small contingency for fasteners, flashing, tape, weather stripping, and replacement clips. Those overlooked pieces are often what stops a build halfway through Saturday.
Plan Ventilation Before You Plant Anything
A greenhouse is not a sealed box. It is a controlled outdoor space, and air exchange is one of its most important controls.
At minimum, include a door that can stay open safely and a vent high in the structure where hot air naturally collects. Opposing low and high openings create better airflow than a single door alone. On warm spring days, open early. Waiting until plants look stressed means the temperature may already have been too high for hours.
Humidity needs the same attention. Water in the morning when possible, avoid soaking foliage late in the day, and leave space between plants. If leaves remain wet or the plastic drips with condensation each morning, increase ventilation before reaching for a disease treatment.
A small circulating fan can help in an enclosed greenhouse, especially around crowded seedlings. It is not a replacement for vents, but it reduces stagnant pockets of damp air. If you use electricity, keep cords protected from water and follow local safety requirements.
Make the Greenhouse Easy to Check and Easy to Change
The best DIY greenhouse plans leave room for adjustment. Add removable shelves instead of permanent ones if the same space may later hold tomato containers. Use a simple thermometer at plant height, not just near the roof. Keep a place for a bucket, hand tools, and plant labels so routine tasks do not become a scavenger hunt.
Then build a simple check into your week: look at overnight lows, inspect the covering and anchors, feel the potting mix, and check for condensation or pests. Tomatograph can help turn those weather and crop signals into a short priority list, but the goal is still the same: spend less time managing information and more time catching a problem while it is small.
Your greenhouse does not need to look like a catalog installation. It needs to make the next cold night, heat wave, or seed-starting weekend easier to handle. Build for that moment, and you will use it far more than the elaborate structure you were afraid to begin.