How to Harden Off Seedlings Without Setbacks
6 min read
Your tomato starts may look sturdy under grow lights, but the first bright, breezy afternoon outside can change that fast. Leaves can bleach, curl, or go limp in a single day. Knowing how to harden off seedlings is what bridges the protected conditions of your windowsill, basement, or greenhouse and the real conditions waiting in the garden.
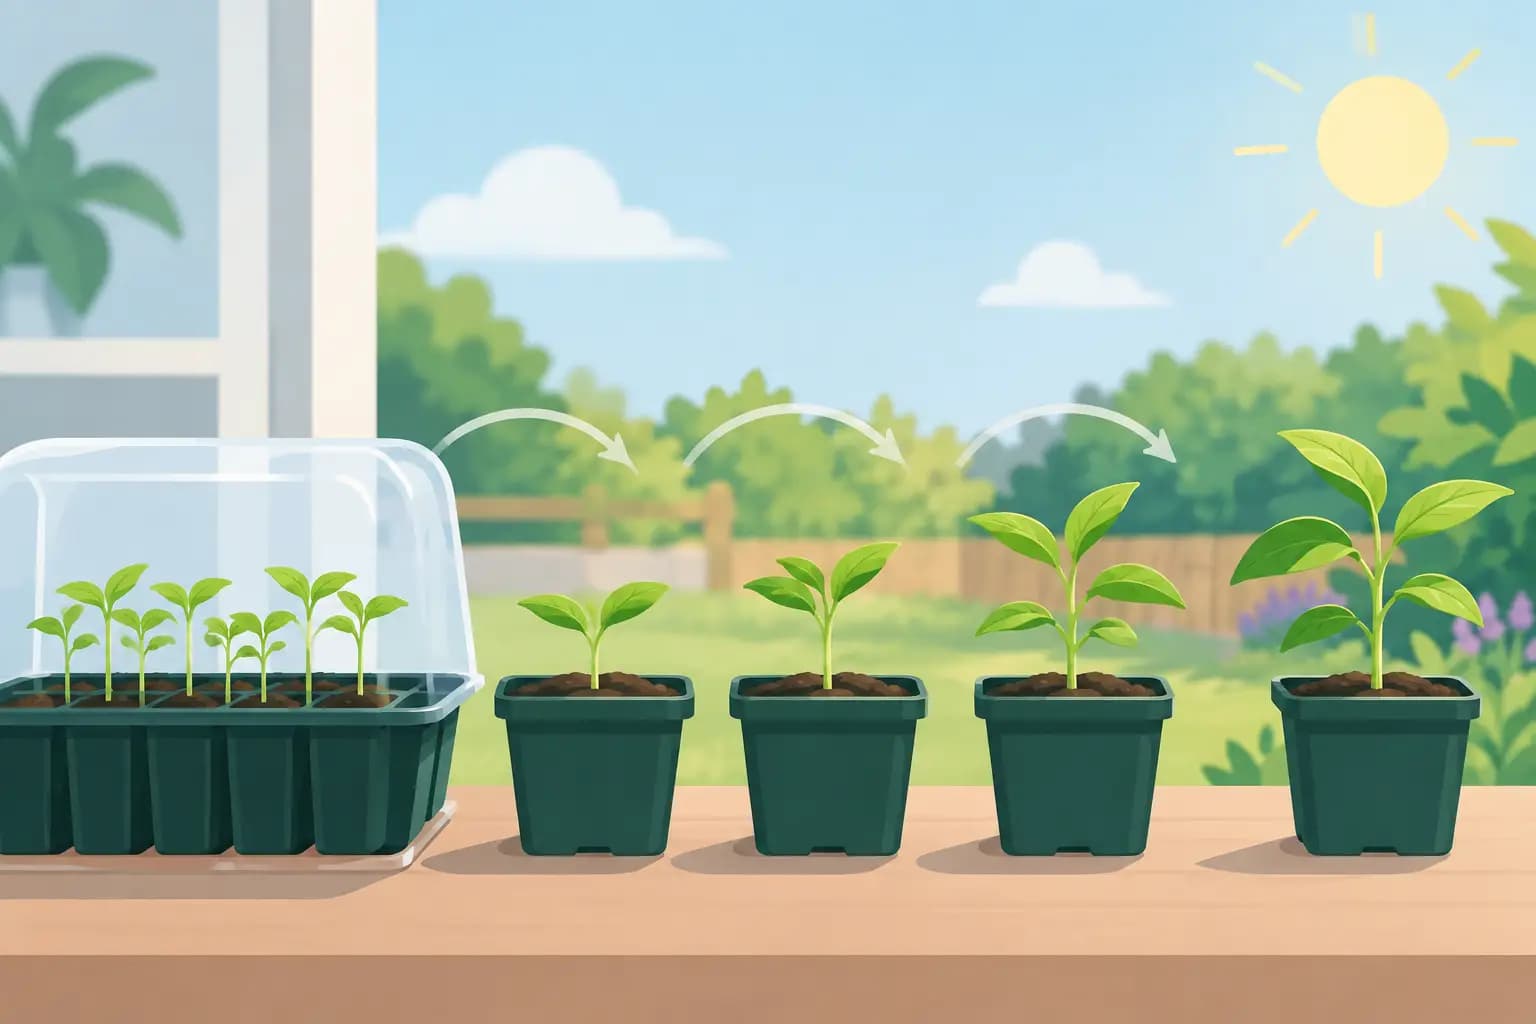
Hardening off is not complicated, but timing matters. The goal is to expose seedlings gradually to direct sun, wind, temperature swings, and outdoor moisture so they build stronger leaf tissue and stems before transplanting. Give it about a week when weather is mild, or closer to two weeks if nights are cool, windy, or unpredictable.
Start hardening off seedlings at the right time
Begin when seedlings have several true leaves, are growing steadily, and are close to their planned transplant date. For warm-season crops such as tomatoes, peppers, basil, cucumbers, and squash, wait until both your soil and overnight temperatures are reasonably warm. A calendar date alone is not enough.
For example, tomatoes can survive a cool night better than basil, but neither will grow well when nighttime temperatures keep falling into the 40s. Basil can be damaged below 50°F. Peppers may stall after cold exposure even when they do not visibly die. Check the forecast before you begin, especially the overnight low, wind, rain, and any frost risk.
Cool-season crops are more forgiving. Broccoli, cabbage, kale, lettuce, onions, and many herbs can start their transition earlier, provided they have some protection from hard freezes and severe wind. Even these tougher plants benefit from a gradual introduction to direct sun.
If a cold front is coming, do not force the schedule. Keep plants indoors or in a protected greenhouse and start again when you have a more stable stretch of weather. A few extra days in pots are usually less damaging than one night of cold stress.
How to harden off seedlings in seven days
Choose a sheltered outdoor spot with bright shade for the first day. The east side of a house, a covered porch, or the shade cast by a tree can work well. Avoid a spot that gets blasted by afternoon sun or funneling wind. Set seedlings on a tray, table, or crate rather than directly on cold ground, where slugs and damp soil can create extra problems.
Days 1 and 2: Bright shade for a short window
Put seedlings outside for one to two hours in bright, indirect light. Keep the soil evenly moist, but do not soak it before carrying plants outdoors. Saturated potting mix is heavy, stays cold, and can leave seedlings stressed if the weather turns breezy.
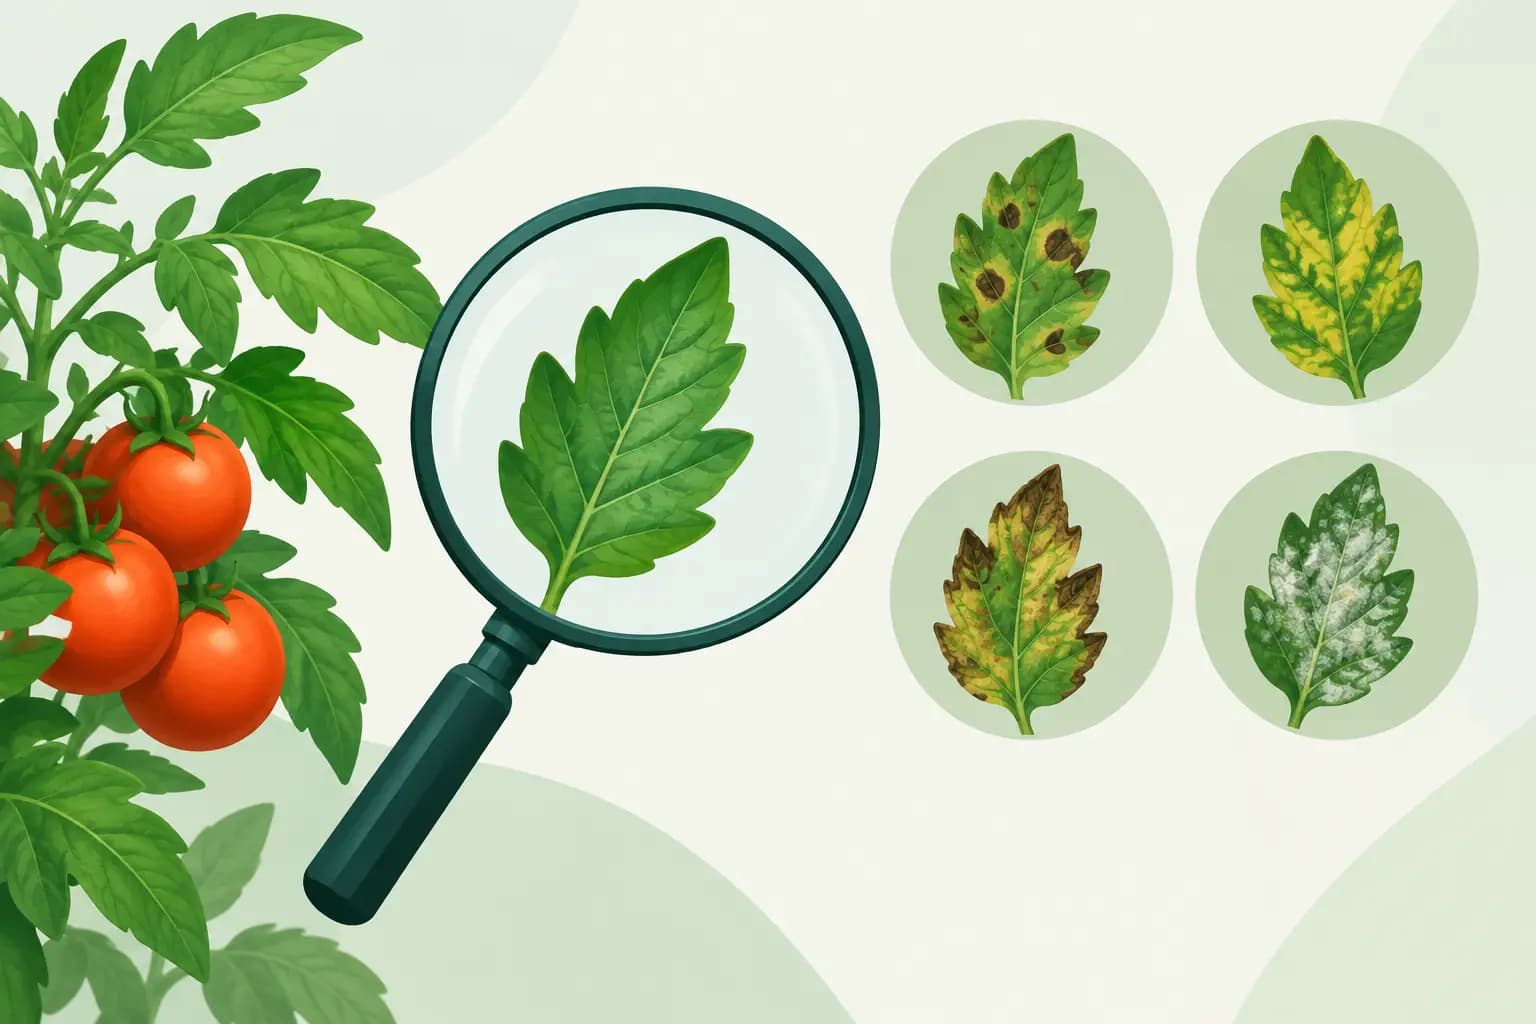
Bring them back inside before the strongest afternoon sun. Look for leaf droop, pale patches, or a sudden change in color. A little temporary droop can happen in warmth, but leaves should recover quickly once they are back in shade. Bleached or papery patches are sunscald, and they will not turn green again.
Days 3 and 4: Add gentle morning sun
Extend outdoor time to three or four hours and introduce an hour or two of mild morning sun. Morning light is the easiest way to build tolerance without overwhelming tender foliage. If wind picks up, move seedlings beside a fence, under an open-sided cover, or behind a few larger pots.
Do not confuse hardening off with neglect. Seedlings dry much faster outdoors than they do under lights, particularly in small cell packs. Check soil with a finger before heading to work and again when you bring them inside. If the top feels dry and the tray is light, water gently at the base.
Days 5 and 6: Increase sun and outdoor time
Move plants toward the light conditions they will have after transplanting. Sun-loving vegetables can now spend six to eight hours outdoors, with several hours of direct sun. Leafy greens and herbs destined for part shade should still be acclimated, but they do not need a full-sun trial.
Wind deserves as much attention as sunlight. A light breeze helps stems strengthen, while sustained gusts can snap plants or dehydrate them faster than their roots can keep up. On a windy day, reduce exposure rather than treating the schedule as a test you must complete.
Day 7 and beyond: Prepare for the garden
After a full day outdoors without significant wilt or scorch, seedlings are usually ready to transplant. If nights will stay comfortably above the crop's minimum temperature, let them remain outside overnight in a protected location for one or two nights first. This final step is especially useful for plants raised under steady indoor temperatures.
Skip overnight exposure if a storm, cold snap, or unusually strong wind is forecast. Hardening off is a process of controlled stress, not a gamble with plants you spent weeks growing.
Adjust the schedule for your weather and crop
A seven-day plan is useful, not sacred. Overcast weather lets you move faster because light intensity is lower. Sudden heat, dry air, or high winds call for a slower approach. Seedlings grown in a greenhouse also need hardening off, although they may be more accustomed to natural daylight than plants grown under indoor lights.
Large transplants in gallon pots can tolerate more exposure than tiny seedlings in plug trays, but they may still suffer from sunscald if they have lived under shade cloth. Plants started in a cold frame often need the least adjustment. Open the cover for longer periods each day, then leave it open overnight when conditions allow.
If you use a small DIY greenhouse, ventilation is the decision to make each morning. A closed structure can become dangerously hot on a sunny 60°F day. Crack vents or open doors early, then close them before evening temperatures drop. The goal is gradual exposure, not a greenhouse that swings from sauna to refrigerator.
Transplant on a low-stress day
The best transplanting weather is calm and cloudy, or late afternoon when the harshest sun has passed. Water seedlings an hour or two before planting so the root ball stays intact. Plant them at the same depth they were growing in their container, except tomatoes, which can be planted deeper because they form roots along buried stems.
Water slowly after planting to settle soil around the roots. Then give new transplants temporary protection if conditions are demanding. A light row cover, shade cloth, overturned crate, or a few branches positioned nearby can soften intense sun and wind for the first couple of days. Remove covers when temperatures rise so plants do not overheat.
Mulch is useful once the soil has warmed. It steadies moisture and reduces splash from bare soil, but a thick layer applied too early can keep cool-season ground colder than you want. Keep mulch slightly away from stems to discourage rot and hiding places for slugs.
Common hardening-off mistakes that cost seedlings
The most common mistake is putting seedlings directly into full afternoon sun because the forecast looks pleasant. Indoor-grown leaves have not developed the protective response needed for intense ultraviolet light. Another is leaving trays out overnight because daytime temperatures felt warm, only to find a 42°F low after midnight.
Overwatering is also easy to miss. Gardeners see wilted leaves and add more water, even when cold, wet roots are part of the problem. Check the potting mix first. If it is moist but leaves are limp in bright sun, move plants to shade and let them cool before watering again.
Finally, avoid hardening off plants in a place you will forget. Put them where you pass by in the morning and evening, or set a reminder for the return trip indoors. The task takes fifteen quiet minutes a day, but it prevents the disappointment of losing healthy starts just before planting season.
Your seedlings do not need perfect weather. They need a measured introduction to the weather you actually have. Watch the forecast, shorten exposure when conditions turn rough, and let each day outside make the next one easier.